Public IP Without Your ISP: VPS + WireGuard for Starlink, 4G and CGNAT

Starlink, mobile 4G/5G and more and more home ISPs don’t give you a public IP address: the internet works, but you can’t reach your camera, NAS, home website or game server from outside. The ISP puts you behind a shared address (CGNAT), so port forwarding on your router does nothing: incoming connections never reach the router at all.
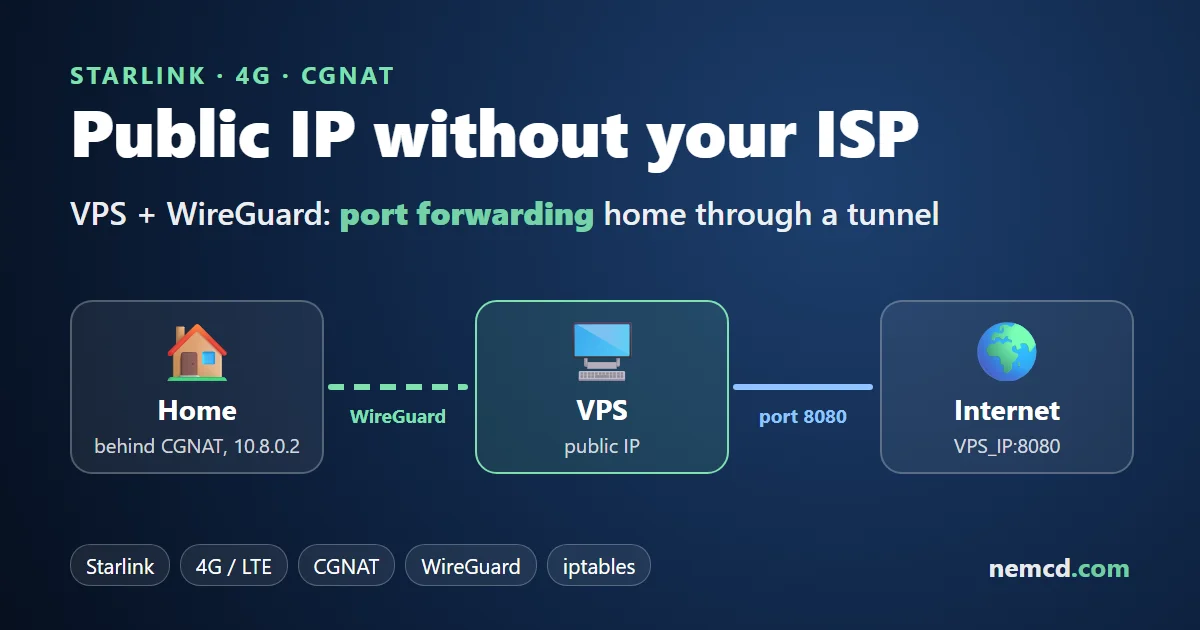
In short: rent the cheapest VPS with a public IPv4, set up a WireGuard tunnel from home to the VPS and forward the ports you need on the VPS. People connect to the server’s IP, and the server passes the connection down the tunnel to your home. The tunnel is opened from your home device, so CGNAT doesn’t get in the way. Your own public IP ends up costing as much as an entry-level VPS.
How to tell you don’t have a public IP
Compare two addresses:
- The WAN address in your router (the connection status page).
- Your external address as websites see it: open
ifconfig.mein a browser or run this command on your computer:
curl -4 ifconfig.me
If the addresses differ, or the WAN address starts with 100.64–100.127 (the CGNAT range 100.64.0.0/10), 10., 172.16–172.31 or 192.168., you don’t have a public IP and port forwarding on the router won’t work.
Starlink. On the Residential and Roam plans the IPv4 address is always behind CGNAT, and the Starlink router has no port forwarding settings. A public IPv4 can be enabled in your account only on Priority plans, and even there it isn’t static. Starlink does provide IPv6, but many networks, especially mobile and office ones, still work over IPv4 only, so not everyone will be able to reach you over IPv6.
How a public IP through a VPS works
- A VPS with a public IP sits in a data center and runs WireGuard.
- Your home computer, mini PC or router connects to the VPS by itself and keeps the tunnel up. CGNAT lets outgoing connections through.
- The VPS forwards traffic: everything that arrives on a port, say
8080, goes down the tunnel to your home device. - From outside, people connect to
VPS_IP:8080. Nobody sees your home address.
What you need: a Linux VPS (Debian 12 or Ubuntu 24.04; 1 CPU core and 1 GB of RAM is enough) and a home device to run WireGuard: a Linux computer or mini PC, a Raspberry Pi, or an OpenWRT router. There’s an official WireGuard client for Windows too, with the same config.
Step 1. WireGuard on the VPS
Connect to the VPS over SSH (for example, with PuTTY) and install the packages:
apt update
apt install -y wireguard iptables
Create keys for the server and for your home device:
cd /etc/wireguard
umask 077
wg genkey | tee vps.key | wg pubkey > vps.pub
wg genkey | tee home.key | wg pubkey > home.pub
Find the name of the VPS’s external network interface: it’s the word after dev (usually eth0 or ens3):
ip route show default
Create the forwarding script /etc/wireguard/fwd.sh. It has three settings at the top: the ports (protocol and number separated by a colon), your home address in the tunnel, and the interface name from the previous command.
#!/bin/sh
# Ports to forward home
PORTS="tcp:8080 udp:27015"
HOME_IP=10.8.0.2
WAN=eth0

if [ "$1" = up ]; then
  A=-A; I=-I
else
  A=-D; I=-D
fi

for R in $PORTS; do
  PR=${R%%:*}
  P=${R#*:}
  iptables -t nat $A PREROUTING \
    -i $WAN -p $PR --dport $P \
    -j DNAT --to-destination $HOME_IP
  iptables $I FORWARD -i $WAN -o wg0 \
    -p $PR -d $HOME_IP --dport $P \
    -j ACCEPT
done

iptables $I FORWARD -i wg0 -o $WAN \
  -m conntrack \
  --ctstate ESTABLISHED,RELATED \
  -j ACCEPT
iptables -t nat $A POSTROUTING \
  -o wg0 -j MASQUERADE
Don’t forward port 22 if you use it to SSH into the VPS: you’ll lock yourself out of the server. Leave the WireGuard port 51820 alone too. And forward only what really needs to be reachable from the internet: protect cameras, NAS boxes and admin panels with strong passwords.
Now the tunnel config /etc/wireguard/wg0.conf. Replace KEY_FROM_… with the contents of the matching file; this command shows all four keys:
tail -n +1 /etc/wireguard/*.key \
  /etc/wireguard/*.pub
The config:
[Interface]
Address = 10.8.0.1/24
ListenPort = 51820
PrivateKey = KEY_FROM_vps.key
PostUp = /etc/wireguard/fwd.sh up
PostDown = /etc/wireguard/fwd.sh down

[Peer]
PublicKey = KEY_FROM_home.pub
AllowedIPs = 10.8.0.2/32
Enable packet forwarding and start the tunnel:
chmod +x /etc/wireguard/fwd.sh
echo 'net.ipv4.ip_forward=1' \
  > /etc/sysctl.d/99-wg.conf
sysctl --system
systemctl enable --now wg-quick@wg0
If ufw is enabled on the VPS, open the WireGuard port. The forwarded ports don’t need ufw allow: the FORWARD rule from the script lets them through.
ufw allow 51820/udp
Some hosting providers also have an external firewall in the control panel: open 51820/udp and the forwarded ports there as well.
Step 2. WireGuard at home
Install WireGuard on your home Linux device:
apt install -y wireguard
Create /etc/wireguard/wg0.conf, with the server’s public address instead of VPS_IP:
[Interface]
Address = 10.8.0.2/24
PrivateKey = KEY_FROM_home.key

[Peer]
PublicKey = KEY_FROM_vps.pub
Endpoint = VPS_IP:51820
AllowedIPs = 10.8.0.1/32
PersistentKeepalive = 25
PersistentKeepalive = 25 is a must: every 25 seconds the device checks in, so CGNAT doesn’t close the tunnel. AllowedIPs = 10.8.0.1/32 means only replies to the VPS go into the tunnel, and your regular home internet works as before.
Start the tunnel:
systemctl enable --now wg-quick@wg0
Once the tunnel is up, delete the home private key from the VPS; it has no business on the server:
rm /etc/wireguard/home.key
The service at home must listen not only on 127.0.0.1 but also on the tunnel address 10.8.0.2 (or on all addresses, 0.0.0.0). If the program runs on another device (a camera, a NAS), it’s easier to put WireGuard on an OpenWRT router and forward the port from the tunnel to the device on your home network there, like regular OpenWRT port forwarding.
Step 3. Check it
Run this command on the VPS: the output should have a latest handshake line showing seconds or minutes.
wg show
Then test the port from outside, for example from your phone on mobile data: open http://VPS_IP:8080 in a browser. Testing from the VPS itself is pointless: the forwarding rule only catches traffic that comes in from the internet.
Common mistakes
- No handshake. UDP port 51820 is closed on the VPS (ufw or the hosting provider’s firewall), or there’s a typo in the keys or in
Endpoint. Each side’s public key goes into the other side’s[Peer]section. - The tunnel is up but the port doesn’t open from outside.
ip_forwardisn’t enabled, the interface name inWAN=is wrong, or the home service listens only on127.0.0.1. - At home, all connections come from 10.8.0.1. That’s expected: the MASQUERADE rule makes sure replies always go back through the tunnel. The visitor’s real IP is visible on the VPS, but not at home.
- Your home IP changed. Nothing to do: the tunnel is opened from your home device, and the server doesn’t care which address it connects from.
When you don’t need a VPS
An honest look at cheaper options:
- Only you need access (to reach your own NAS or camera from your phone): free Tailscale or ZeroTier is enough. Install the app on your phone and at home, no ports to open.
- You want to publish a website (HTTP/HTTPS): the free Cloudflare Tunnel works, but only for web services.
- Starlink Priority: a public IPv4 can be enabled in your account, but the plan costs many times more than a VPS.
- A public IP from your ISP: some home ISPs sell one as a paid add-on.
A VPS with WireGuard is what you need when other people or programs must connect to you on any port and protocol: a game server, a video recorder, VoIP, UDP services.
Which VPS to choose
The tunnel needs very little: 1 core, 512 MB – 1 GB of RAM and any Linux. Other things matter more:
- A nearby location: the closer the data center, the lower the latency. Pick the region closest to you.
- Traffic: everything that comes to you from outside passes through the VPS. Check the plan’s bandwidth allowance if you’ll be streaming video.
- A public IPv4 in the plan: with some cheap VPS plans it costs extra or isn’t included at all, only IPv6.
For this kind of job I recommend Vultr: Linux VPS with hourly billing and data centers around the world, so you can pick one close to home. Choose a plan that includes IPv4. New accounts that sign up through this link get free trial credit; the amount and terms are shown on the sign-up page.
The Vultr link is a referral link: you get trial credit, and the blog gets a small reward.