Gigabyte Motherboard Won’t Enter BIOS — Black Screen: 8 Fixes (GA-EP45-DS5)
Once again I ran into a Gigabyte motherboard glitch (earlier it was timing problems with expensive memory). This time it was the GA-EP45-DS5.
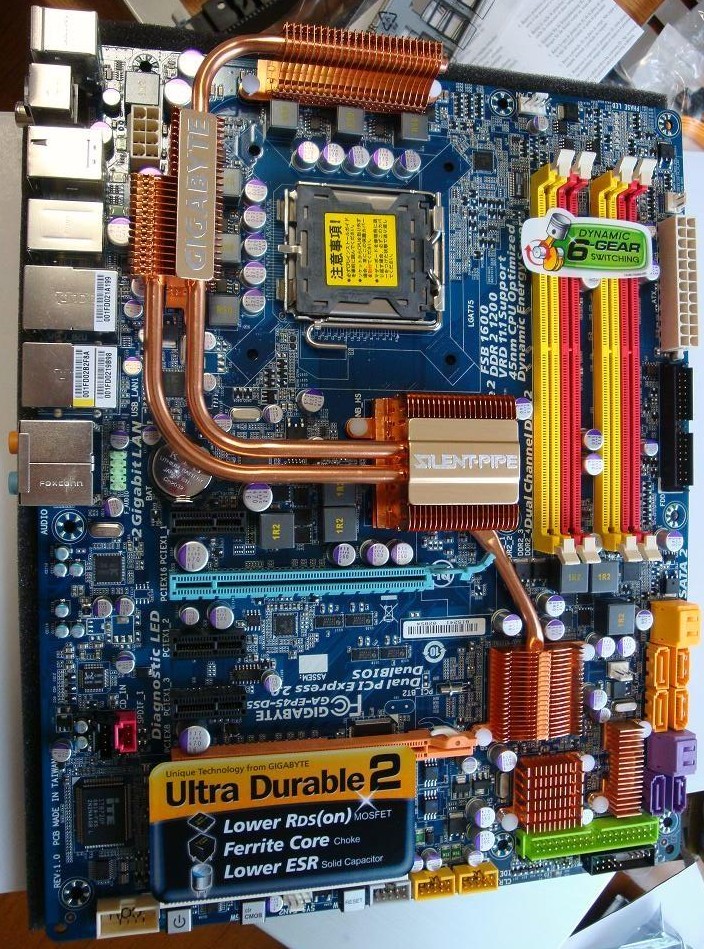
A big, beautiful board with “golden” heatsinks and heat pipes, quality capacitors and plenty of USB and SATA ports. Everything about it is great, except that you can’t get into the BIOS!
I tried this and that, but it didn’t work right away, so I had to spend some time on it.
At boot I press Del as usual. The self-test passes and the result is a black screen with a cursor.
Of course I googled it. Being unable to enter the BIOS on a Gigabyte board is a fairly common problem (judging by questions on forums and groups), and the advice varies. Below I have grouped everything I found, plus tips from my own practice, and I’ll tell you what finally got me into the Gigabyte EP45 BIOS.
How to get into the BIOS: 8 things to try
1. Make sure you press the right key. At startup the screen usually shows the logo of the motherboard or BIOS maker, with the control keys (for example BIOS setup — Del, recovery mode — F9, boot device menu — F8 or F12, and so on). Find out exactly which key enters the BIOS (usually Del, but it can be F2 or another one) and press it several times. You don’t need to rush, but don’t wait too long either — otherwise reboot and try again.
2. Check the keyboard. Sometimes a USB keyboard doesn’t have time to initialize, so pressing Del or another key does nothing. The most reliable fix is a keyboard with a PS/2 connector. You can also move the USB keyboard to another USB port and press the BIOS key a bit later, not right at power-on (give the keyboard time to be detected).
3. Disconnect the drives. A glitchy, “sick” hard drive may fail to initialize properly, so booting drags on or hangs before reaching the BIOS. Try disconnecting all SATA and USB devices (except the keyboard, of course  ) and entering the BIOS without them.
4. Reset the BIOS to defaults. Use the jumper on the motherboard — it is best to find that exact jumper in the board’s manual. Or do it the simple way: unplug the computer’s power cable, take out the BIOS battery, short the battery contacts to discharge the capacitors and reset the settings.
5. Replace the battery. It sometimes helps. Note that if step 4 didn’t help and the BIOS keeps its settings, date and time with the power cable unplugged, the battery doesn’t need replacing yet. On the other hand, if the battery is old, replace it anyway — it’s cheap, and you won’t have to open the case in six months and set up the BIOS again.
6. Change the video card. I read that some people tried a different graphics card or the integrated one, and it helped them. I tried it — it didn’t help in my case.
7. Use a DVI cable. They say that connecting the monitor with a DVI cable (not VGA or HDMI, and no adapters — pure DVI) made the BIOS start opening. It didn’t help me.
8. Recover, update or downgrade the BIOS. If none of the above helped, the next step is to restore the BIOS, or better to update it right away to a new version (if there is one), or to downgrade it if there is no newer version.
What helped me: the last one
It turned out that my BIOS version was EP45-DS5 F13a, and that one is a Beta!

I went to the board maker’s site, Gigabyte, and found the list of BIOS versions. There was nothing newer, so the only way was down.
I took a USB flash drive and cleaned it (it was FAT32, which is exactly what’s needed), then downloaded and unpacked the archive motherboard_bios_ga-ep45-ds5_f12. The file we need is ep45ds5.f12 — this is the BIOS image itself.
Then I entered Q-Flash (press the End key after the computer starts) and flashed the current BIOS F13a with the previous stable version, F12.

After the BIOS downgrade everything worked — I got into the setup on the first try!
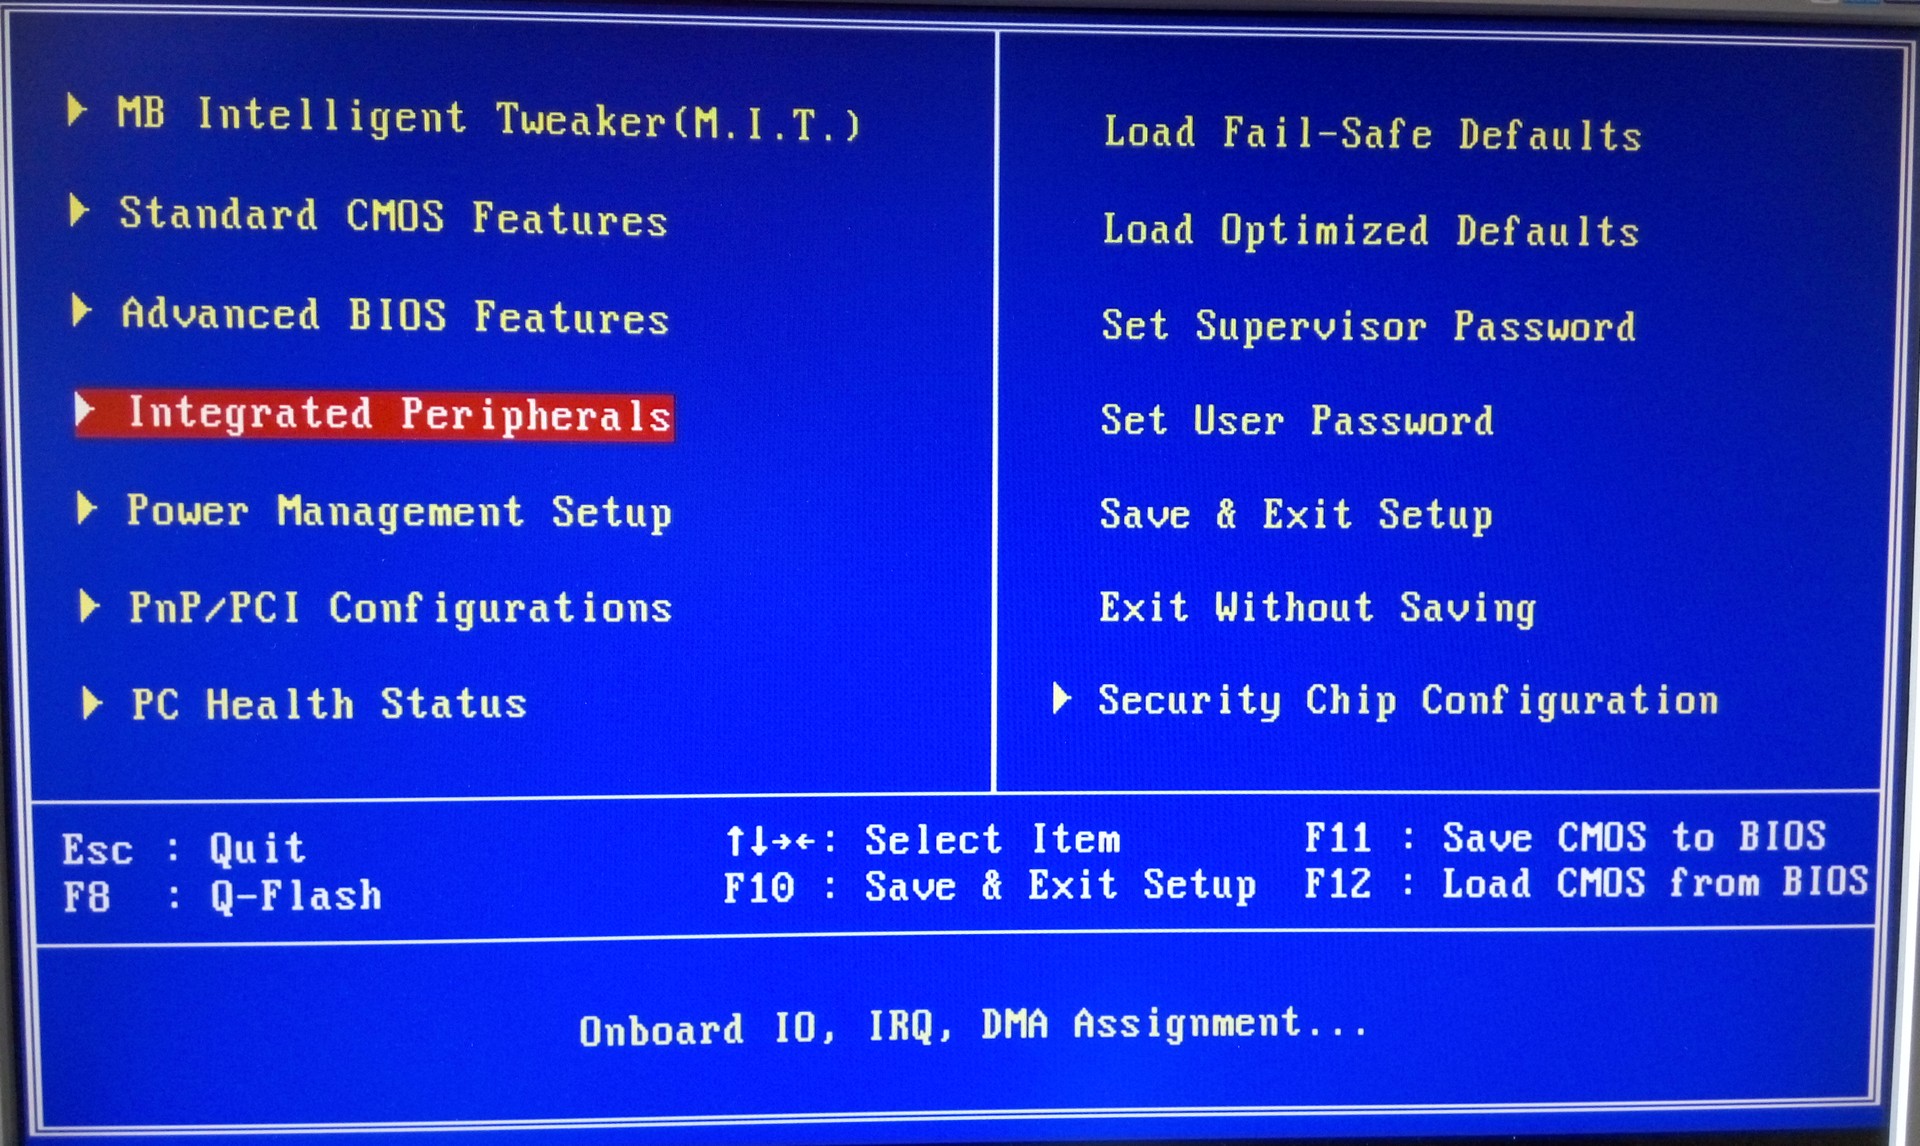
Great, problem solved, and I can continue setting up the machine
